How to Use JUnit ErrorCollector [With Examples]
Sri Priya
Posted On: October 5, 2023
![]() 245880 Views
245880 Views
![]() 17 Min Read
17 Min Read
Have you encountered a situation where managing 500+ tests is challenging, and if any test fails, you need to pause and address the issue? If so, you’re in the right place.
I was recently automating a complex eCommerce application with 1000+ tests. Whenever any test failed, I would need to identify the error during test execution, stop the test, fix the error, and re-run the test. It is a tedious task for anyone to do the same for multiple test cases.
To overcome this problem, I looked into methods called Asserts. These help us to validate the actual result with the expected result in the test scripts.
There are two types of Asserts: Hard Assert and Soft Assert.

In Hard Assert, the test execution stops when an exception occurs, skips the execution of the following steps, and marks the test as a failure. In Soft Assert, the test execution doesn’t stop when any exception occurs. It continues the execution and records the failures. We must explicitly use softAssert.assertAll() to gather the test execution status.
In some situations, there is a need to allow the test execution to proceed despite encountering failures. It becomes essential when dealing with complex test cases involving multiple steps and assertions. Stopping the execution, addressing each error, and rerunning the entire test suite is only sometimes practical. Furthermore, gathering information about these failures is essential for troubleshooting and improving subsequent test runs.

To address such issues, where rerunning the entire test suite becomes necessary, JUnit offers a more effective solution known as ErrorCollector rather than the Soft Assert approach. We will further explore why JUnit’s ErrorCollector surpasses the use of SoftAssert().
In this blog, we will discuss the various methods and uses of JUnit ErrorCollector. By the end of this session, you will better understand the ErrorCollector and its methods with practical implementation.
So, let’s get started.
TABLE OF CONTENTS
- What is an ErrorCollector in JUnit?
- When to use an ErrorCollector in JUnit?
- Benefits of ErrorCollector in JUnit
- Different methods of ErrorCollector class
- What is @Rule in JUnit?
- Demonstration: Usage of ErrorCollector in JUnit
- Demonstration: Using JUnit ErrorCollector with Selenium
- Conclusion
- Frequently Asked Questions (FAQs)
What is an ErrorCollector in JUnit?
ErrorCollector is a feature that lets you cover every line of code in a test (irrespective of failure encountered in the code). It is a very crucial and tedious task for anyone to check the failure and output of each & every line in the test.
Even if a line of code fails, the script’s execution continues due to a unique feature called ErrorCollector offered by JUnit. As the name indicates, ErrorCollector gathers all error objects from assert statements, making it particularly useful when we use HardAssert() in our tests.
When an assert statement fails, it doesn’t stop the test; instead, it proceeds to the following line of code, similar to SoftAssert(). However, the JUnit ErrorCollector distinguishes itself by gathering all errors and presenting them at the end of the test run.
However, SoftAssert() doesn’t throw exceptions immediately but records them and throws them all at once using the assertAll() method, allowing the test to continue after each assert statement. To use Soft Assert, include the package org.testng.asserts.SoftAssert in your test execution.
It simplifies validating and rectifying errors in test scripts by providing complete error logs. Ensuring test continuity and addressing errors are crucial in test automation, and ErrorCollector offers an optimal solution. It streamlines the verification and correction of tests, making it more convenient to address all issues at once.
ErrorCollector is available in both JUnit 4 as well as JUnit 5. In this case, we will use JUnit 5, the latest version, to demonstrate the code.
Still using JUnit 4? And wondering how to run your JUnit 4 test on JUnit 5? Worry not! You can get started with this blog on executing JUnit 4 tests on JUnit 5.
Instantiate the ErrorCollector before using it in your class.
|
1 2 |
@Rule public ErrorCollector collector = new ErrorCollector(); |
We will cover more about ErrorCollector usage in the further sections of the blog.
When to use an ErrorCollector in JUnit?
JUnit ErrorCollector is handy when we anticipate that a test case might produce errors or exceptions. It is beneficial when running many tests, say 500 to 1000 or more, and we expect a few of them to encounter issues.
If we rely only on assert statements, any error will force us to stop the entire test execution, fix the problem, and rerun all the tests, including those that encountered errors or exceptions. That is where JUnit ErrorCollector can be helpful.
ErrorCollector collects all the errors or exceptions that occur during the execution of a test case and reports them at the end of the test.
Below are some instances where we can use ErrorCollector in JUnit:
- Test multiple conditions
- Testing with multiple inputs in a single method
- Testing multiple exceptions
- Testing complex logic
When you must test various conditions within a single test and report all the failures or errors together at the end of the test method, the ErrorCollector proves invaluable. It gathers all the errors and presents them collectively after the test execution, simplifying the process.
When you need to test a method or function with various inputs and ensure that all of them are tested while reporting any errors in a single test case, ErrorCollector is a valuable tool for achieving this. It allows you to consolidate all the error reports, making the testing process more straightforward.
When a method or function throws numerous exceptions, we aim to ensure that all these exceptions are captured and reported within a single test case. JUnit ErrorCollector is the solution to achieve this, as it consolidates all the exceptions into one report, simplifying the testing process. You can learn more about it through this blog on common exceptions in Selenium.
When dealing with complex logic in a test scenario that could result in multiple errors or exceptions, ErrorCollector provides a convenient solution. It enables us to collect and report all these issues within a single test case, simplifying the testing process.
To summarize, JUnit ErrorCollector proves valuable when we need to test numerous scenarios with various inputs while ensuring thorough module testing. By consolidating all errors and exceptions into a single test case, we can save time and effort in test creation and maintenance.
 Note
NoteRun JUnit tests across different browsers, versions, and OS combinations. Try LambdaTest Today!
Benefits of ErrorCollector in JUnit
One of the essential features of JUnit is its ability to capture and report errors at the end of the test execution through its significant feature – ErrorCollector. Let’s highlight some key benefits of using ErrorCollector.
- Consolidated error reporting
- Increased test coverage
- Handling test failures due to external issues
ErrorCollector helps to report all the errors (in a consolidated manner) that occur during the process of test suite execution. It simplifies the process of pinpointing the root causes of errors after the execution is finished, enabling us to address the issues after the test run.

ErrorCollector uses assertions for functional and UI testing, allowing us to encompass various inputs and values. It effectively tackles the issue of halting test execution due to any single failure.
It contributes to quicker issue identification, enhancing the robustness and reliability of our tests.
You can learn more about assertions through this video:
You can Subscribe to the LambdaTest YouTube channel for more videos on Selenium testing, Cypress testing, and Playwright testing to elevate your testing game!
Even if a test fails due to network issues during the execution, assertion failures, or any other reason, JUnit ErrorCollector allows us to proceed with the following test seamlessly.
For instance, ErrorCollector is essential when specific tests need to run on particular browsers and versions with unreliable internet connections. It enables us to continue execution even if a test fails and provides detailed logs of the failure, playing a crucial role in such scenarios.
In a nutshell, JUnit ErrorCollector helps to achieve continuous test execution, improved test coverage, and identify the root cause of the errors. There can be many conditions where test failure analysis can be difficult to handle and monitor. For easy analysis and identification of the root cause, you can use one of the features offered by LambdaTest HyperExecute, an AI-powered end-to-end test orchestration cloud 70% faster than traditional cloud grids.
So what is HyperExecute AI-powered Root Cause Analysis?
The AI-powered Root Cause Analysis (RCA) and Error Detection feature for HyperExecute allows you to identify different error categories and offers a comprehensive overview of their underlying causes. It lets you analyze your test logs and identify the root cause of failures so you can take corrective action quickly.
Want to use this feature? Check out the documentation: AI-Powered Test Failure Analysis in HyperExecute.
Different methods of ErrorCollector class
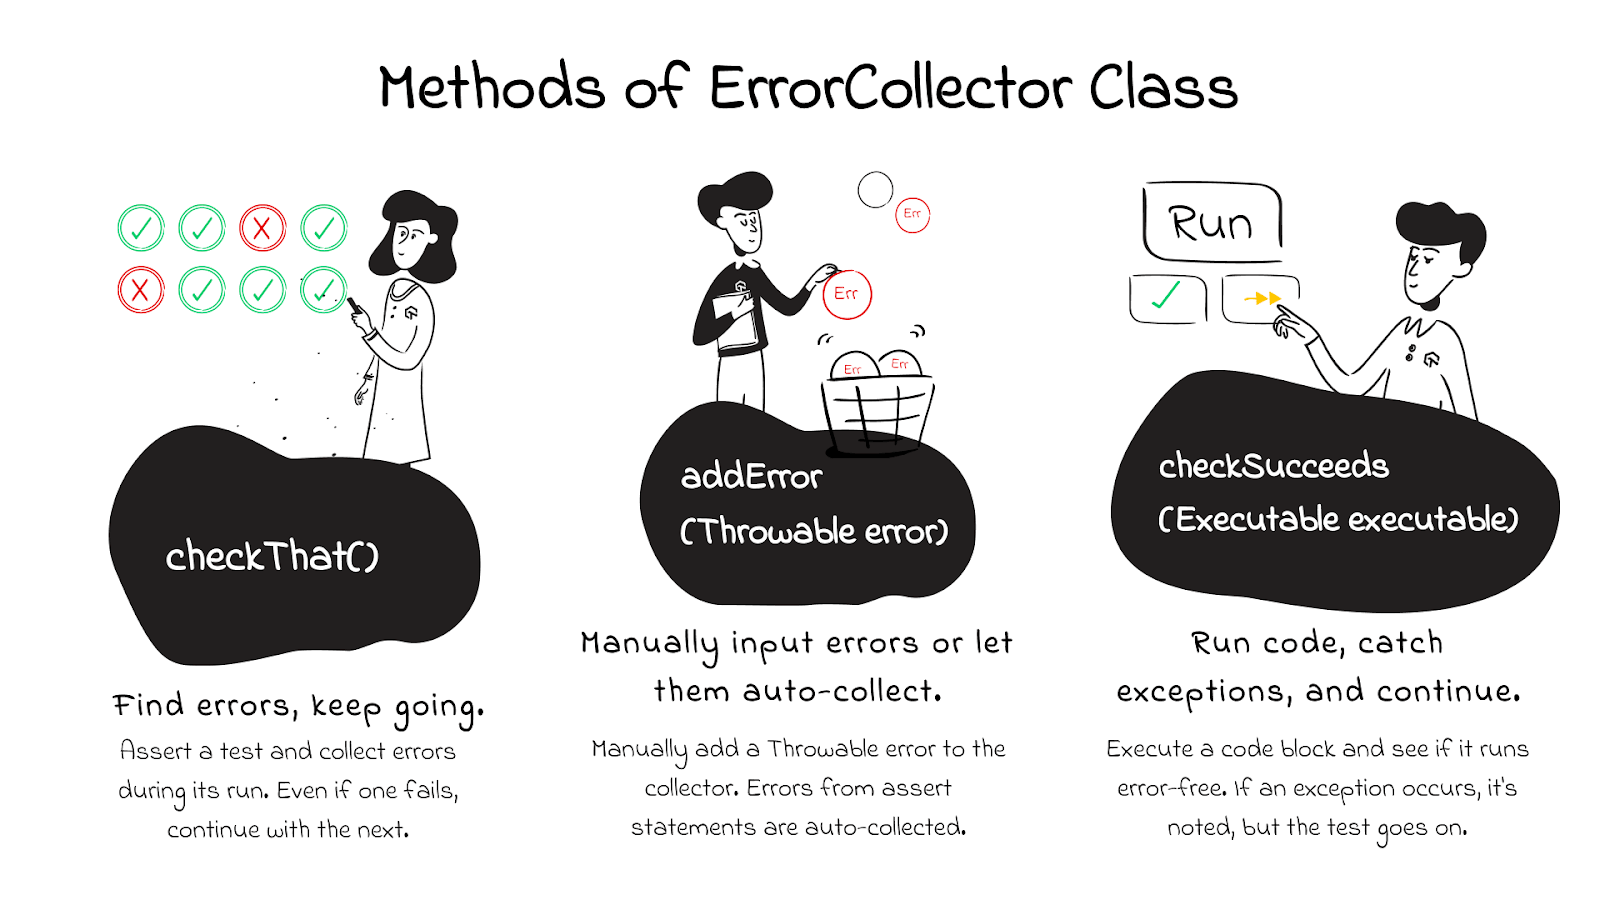
The ErrorCollector class in JUnit provides several methods to collect and report errors. Some of the most commonly used methods are:
- checkThat()
- addError(Throwable error)
- checkSucceeds(Executable executable)
checkThat()
The checkThat() method within JUnit’s ErrorCollector class lets you assert a test, gather any occurring errors, and continue with the test execution.
|
1 |
public <T> void checkThat(T value, Matcher<T> matcher) |
The checkThat() method has two parameters: a String message and a Matcher object. The Matcher object is utilized to confirm if the actual value aligns with the expected value.
addError(Throwable error)
The addError() method includes an error in the ErrorCollector. This error can be any throwable object, including exceptions or assertion errors.
|
1 |
public void addError(Throwable error) |
This method allows you to add a Throwable error as an input parameter. Although the test execution continues, it will ultimately be marked as failed.
checkSucceeds(Executable executable)
You can use the checkSucceeds() method in JUnit ErrorCollector to run a code block and ensure it doesn’t throw any exceptions. If an exception does occur, the error is collected, but the test keeps running.
|
1 |
public <T> T checkSucceeds(Callable<T> callable) |
What is @Rule in JUnit?
JUnit provides @Rule annotation, which creates an object of ErrorCollector. Once the object is created, we can add all the errors using the addError(Throwable error) method. You can learn more about it through this blog on annotations in JUnit.
In Java, Throwable is the superclass of both the Exception and Error classes. By using the @Rule annotation, you can conveniently include error objects, and these errors will be logged in the JUnit test result after the respective test cases are executed.
|
1 2 |
@Rule public ErrorCollector collector= new ErrorCollector(); |
Demonstration: Usage of ErrorCollector in JUnit
To showcase the advantages of JUnit ErrorCollector, let’s take a simple test case that asserts on failure. Below is an example of one test that asserts different conditions.
Result:

Only the initial assert statement is carried out in the given test script. The execution doesn’t continue to the remaining two asserts because the first one, the assertEquals statement, fails and interrupts the execution.
Now, let’s address the issue described earlier using JUnit ErrorCollector. We’ve included the addError() method to place the object into an ErrorCollector.
Result:

All four sample errors are processed, even if they are related to the same test.
Additionally, there’s another method in JUnit ErrorCollector called checkThat(), and we’ll explore how it works below.
|
1 2 3 4 5 6 7 8 9 10 11 12 13 14 15 16 17 18 19 20 21 22 23 |
package com.lambdatest.junit; import static org.hamcrest.CoreMatchers.equalTo; import static org.hamcrest.core.Is.is; import org.junit.Rule; import org.junit.Test; import org.junit.rules.ErrorCollector; public class ErrorCollectorTest { @Rule public ErrorCollector collector = new ErrorCollector(); @Test public void myTest() { collector.checkThat(100, equalTo(200)); collector.checkThat(10, equalTo(200)); } } |
Result:

In the above output, both the assert statements are executed even if the first statement fails.
You now grasp the significance of JUnit ErrorCollector and its methods. All the examples mentioned earlier were conducted on a local machine, which does have its limitations. However, you do have the alternative of running tests on a cloud-based platform such as LambdaTest, which can expand your resources with access to multiple browsers and various OS combinations. LambdaTest is an AI-based test orchestration and execution platform for conducting both manual and automated tests at scale. You can test over 3000+ real devices across various browsers and operating systems.
In the next section, we will explore leveraging LambdaTest for automating test scripts with Selenium using JUnit ErrorCollector.
Demonstration: Using JUnit ErrorCollector with Selenium
Let’s examine a practical test case that includes assertions for verifying the Page Title and performing a product search in the search field. Despite any inconsistency in the Page Title assertion, the test should still successfully proceed with the product search using ErrorCollector.
Test Scenario
|
Project Setup
To write test scripts, you can use any IDE like IntelliJ or Eclipse. However, for this demonstration, we will use the Eclipse IDE. Before we delve into writing the test scenarios, let’s take a moment to understand the directory structure of the Eclipse IDE.
Directory Structure
To begin, create a package named com.lambdatest.automation under src/test/java. Within this package, you’ll find three classes: ClassWithoutErrorCollector, ErrorCollectorItemsPageTest, and ErrorCollectorTest.
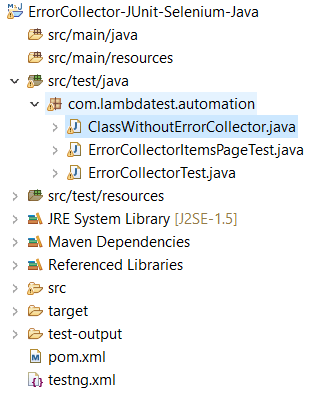
To illustrate, we have used Selenium 4.8 and JUnit 5.9.2 within the automation testing framework.
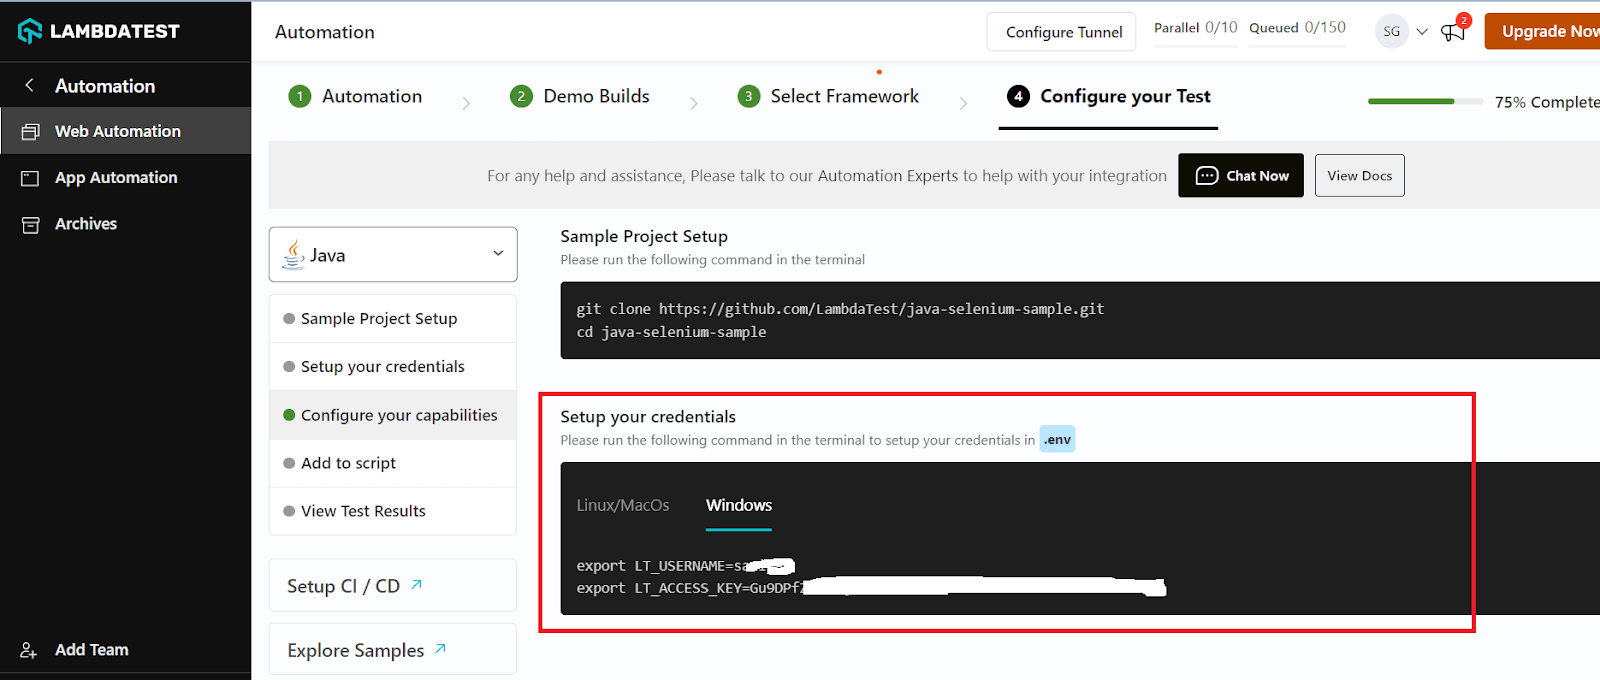
LambdaTest Setup
Before running the tests, there are a few steps you need to take care of.
Step 1: Create a LambdaTest account.
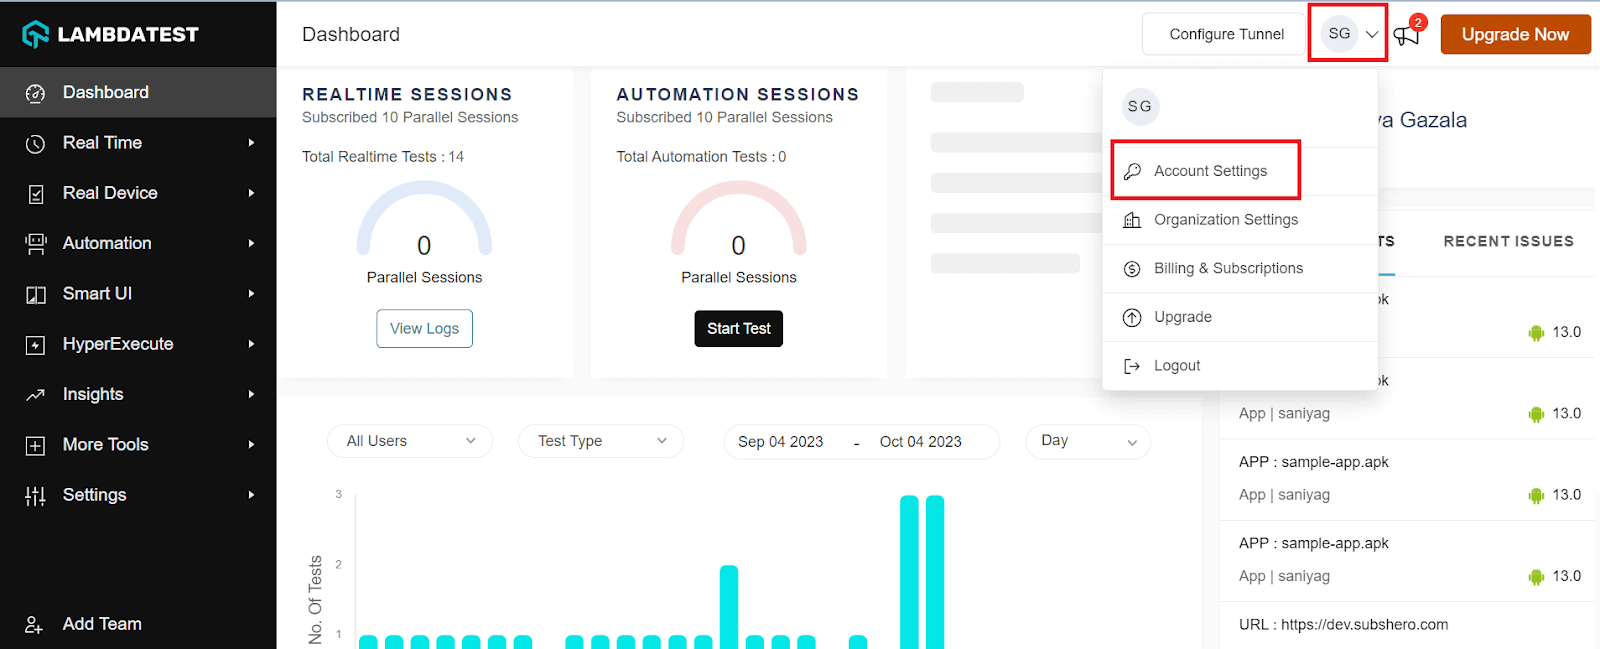
Step 2: Click on Account Settings from the list of options under your profile avatar.
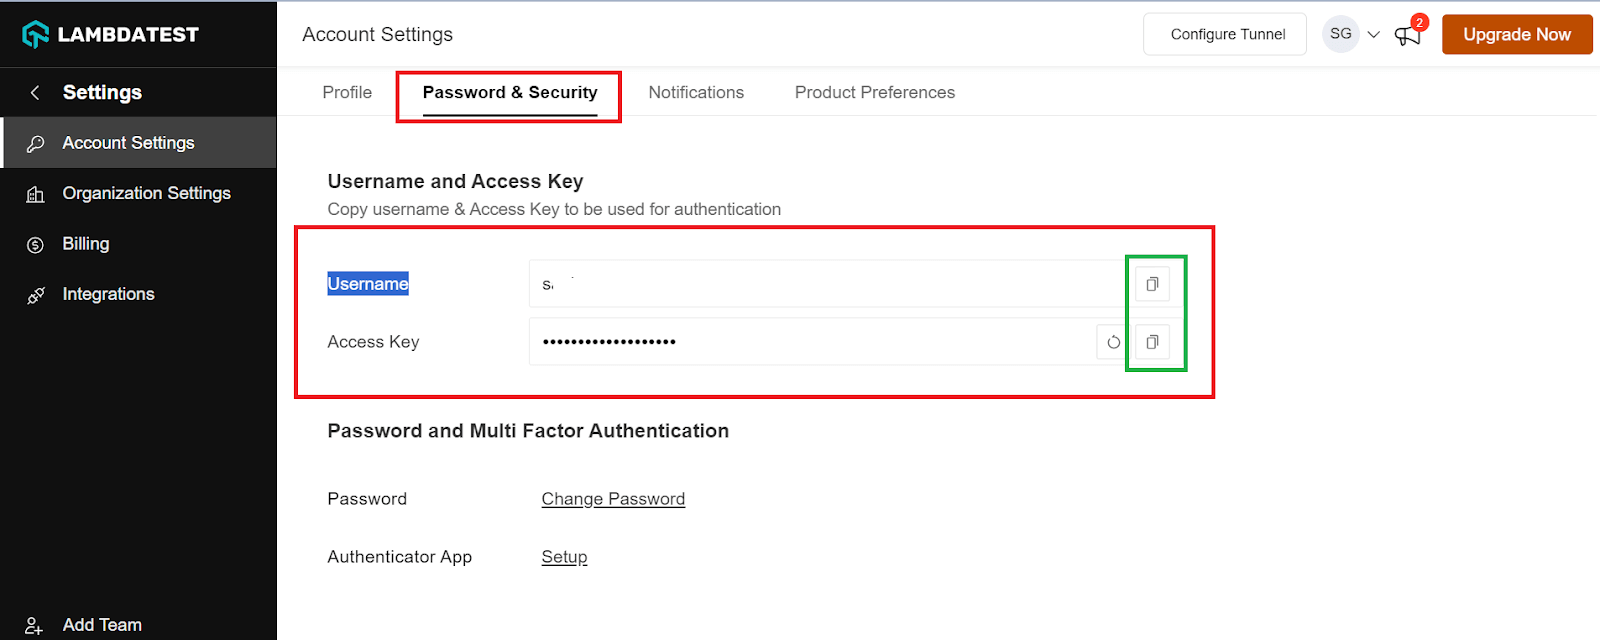
Step 3: Copy the Username and Access key from the Password and Security tab.
Step 4: Now, you need to generate capabilities from the LambdaTest Capabilities Generator, which is more like a configuration that allows you to set the browser of your choice, its version, and operating system.
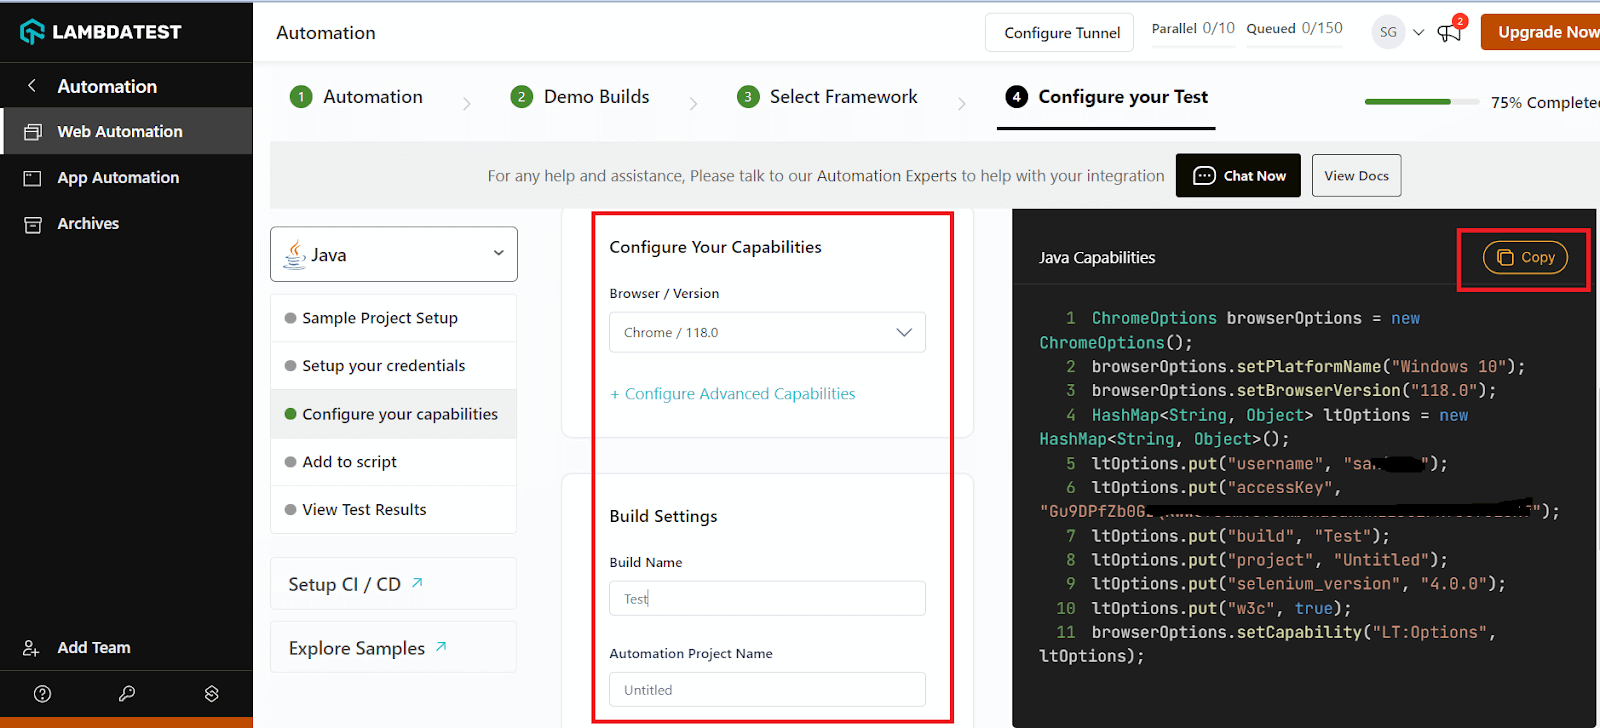
Step 4: Copy the generated capabilities and paste them into your code.
Implementation (without ErrorCollector)
Let’s now implement the code and run the test on the LambdaTest platform without using ErrorCollector. For that, you need first add some libraries into your pom.xml file.

Code to click on the Search box field.
|
1 |
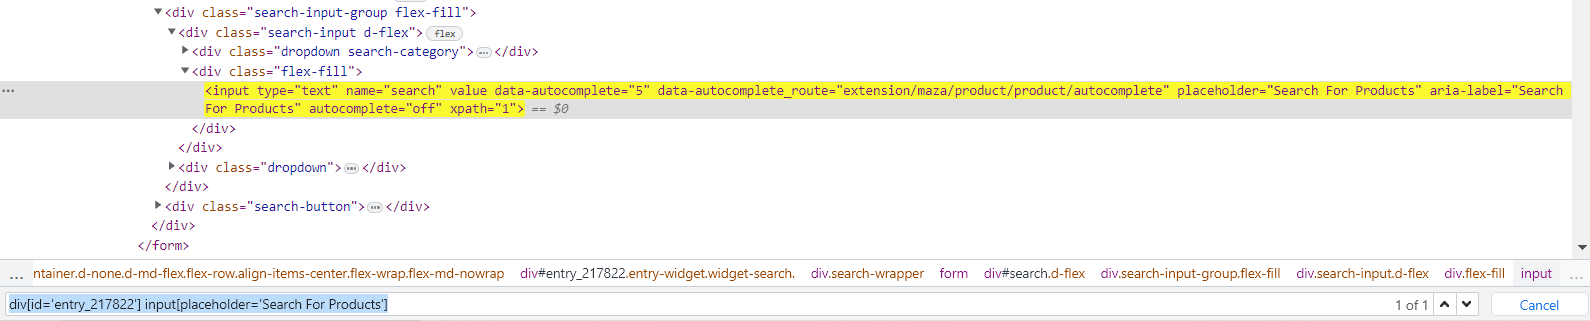
driver.findElement(By.cssSelector("div[id='entry_217822'] input[placeholder='Search For Products']")).click(); |
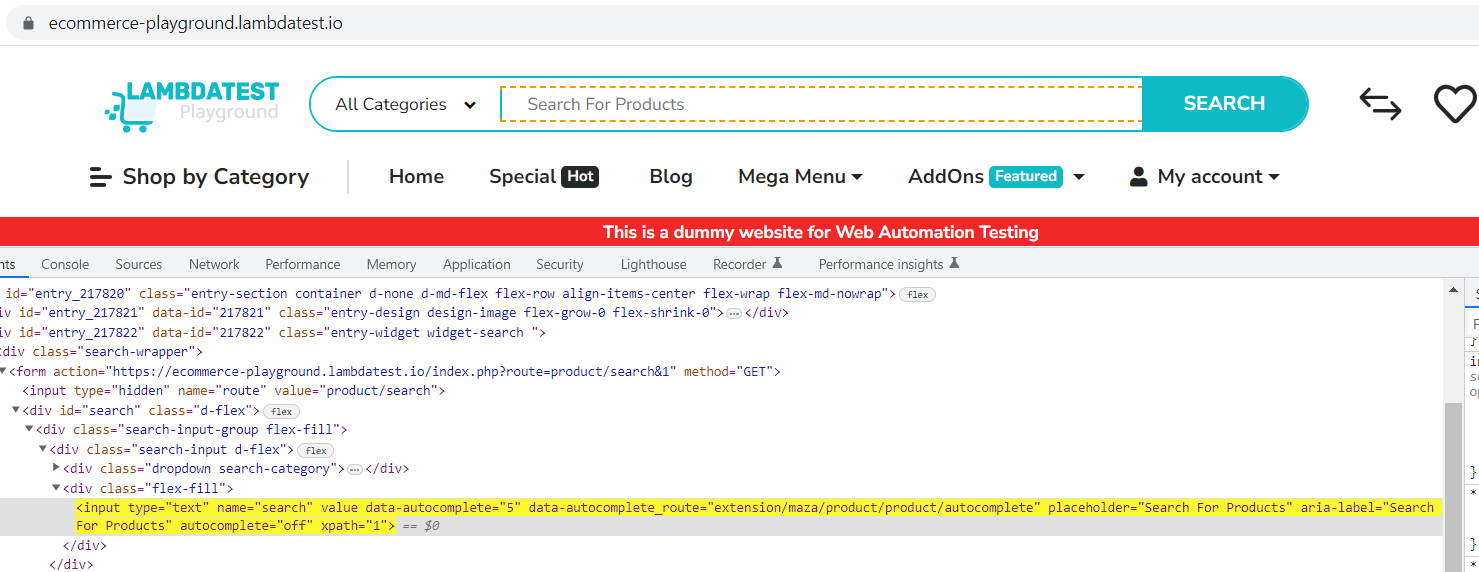
To locate an element on the website, you can perform an inspection. To do this, visit the website, right-click anywhere, and choose the “Inspect” option. Then, find the element you’re interested in and identify it uniquely using Selenium locators by ID or its CSS Selector property. In this case, we will use the CSS Selector to locate the web element and the click() method to interact with it.

Now that you have the element, all you need to do is add your LT Username and Access Key, which can be found under the capabilities generator.
Simply insert the data generated from the LambdaTest platform into your code snippet, and you’re all set to run your test.
Result:

As you can see, the test execution came to a halt at the first assert statement. To tackle this problem, we can utilize ErrorCollector.
Implementation (with ErrorCollector)
The following two classes, ErrorCollectorTest and ErrorCollectorItemsPageTest, use JUnit ErrorCollector to ensure that the test execution continues without interruption.
Code Walkthrough
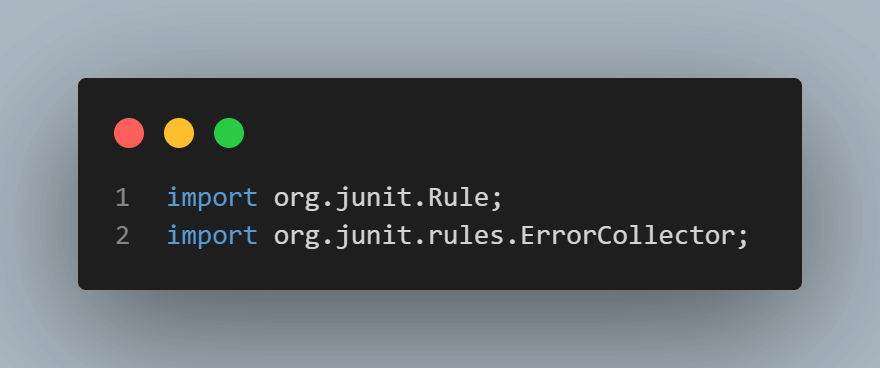
Step 1: Import the packages of JUnit and other methods.
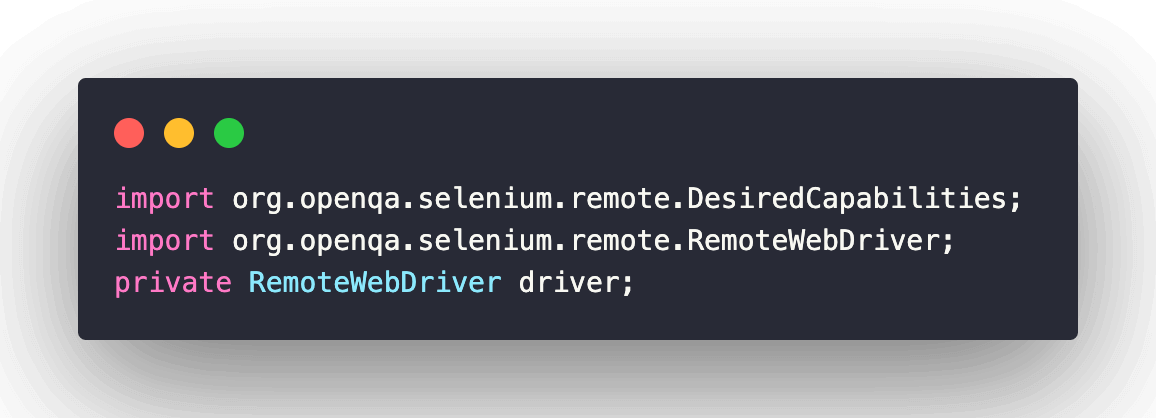
Step 2: Create the RemoteWebDriver reference. RemoteWebDriver is a class that implements the WebDriver interface to execute the tests on the RemoteWebDriver server on a remote machine. It is implemented under the package below.
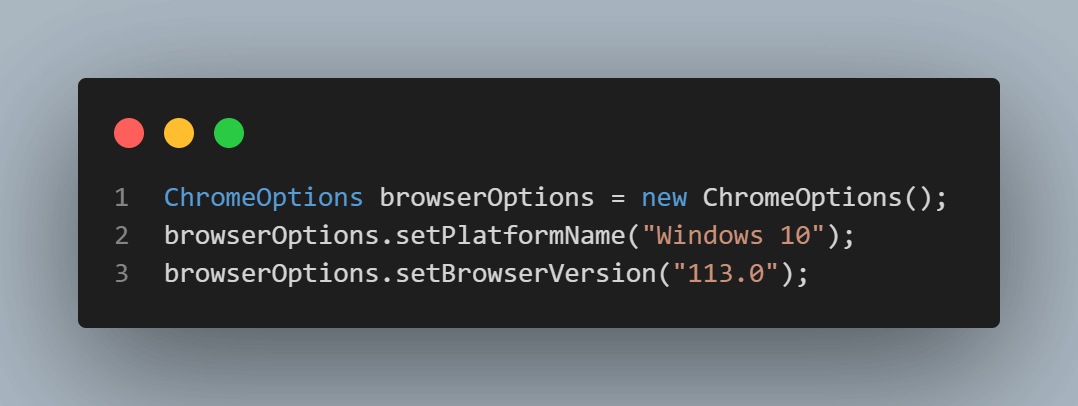
Step 3: The method implemented in @BeforeTest annotation sets the browser’s capabilities. A RemoteWebDriver instance is created with the desired browser capabilities, with the Selenium Grid URL set to the cloud-based Selenium Grid on LambdaTest [@hub.lambdatest.com/wd/hub].
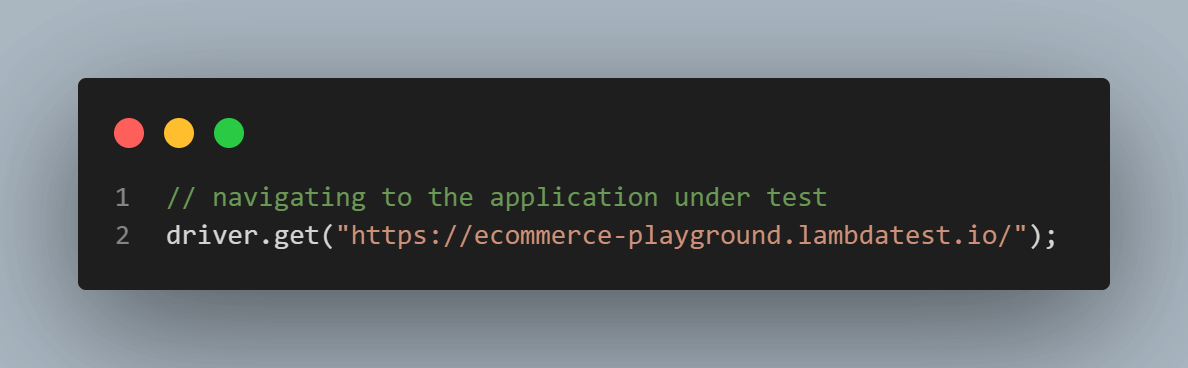
Step 4: All the test navigation steps are implemented under the @Test annotation. Here is how we navigate to the desired URL.
Step 5: Checking the actual Title of the page and the expected Title of the page.
Step 6: Inspect the ‘Search Box’ text field using any locator. We have used CSS Selector as a locator and entered the “IPod” text in the search field using the sendKeys() method in Selenium.

Step 7: Thread.sleep() in Selenium pauses the current thread for a specified time, often 3000 milliseconds, to wait for a page or application to load before continuing with the next code line.
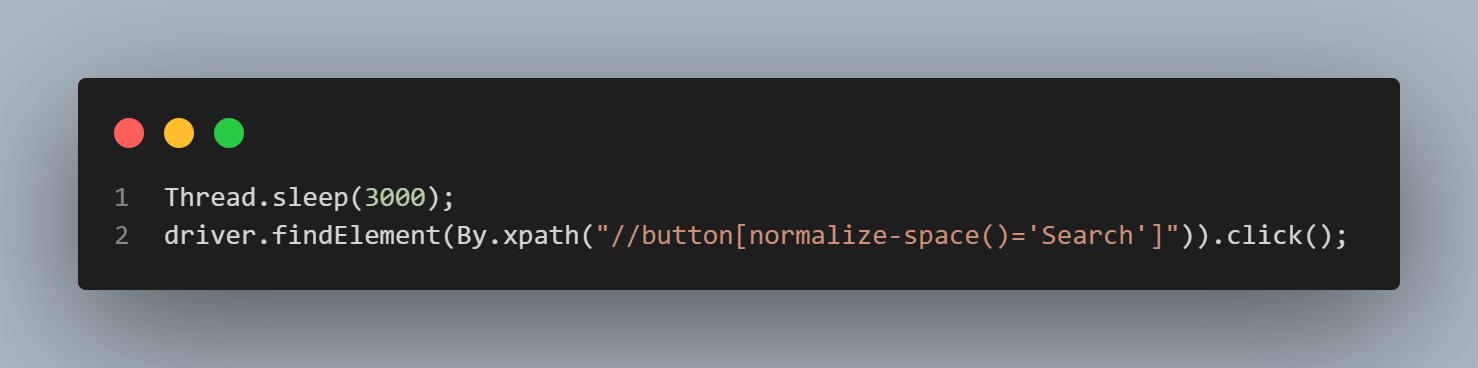
However, it is preferred to use Selenium’s implicit and explicit waits over Thread.sleep(), allowing more efficient and responsive synchronization with the web page, reducing unnecessary wait times. For a deeper understanding of implicit and explicit wait commands in Selenium, refer to this article on Selenium Waits.
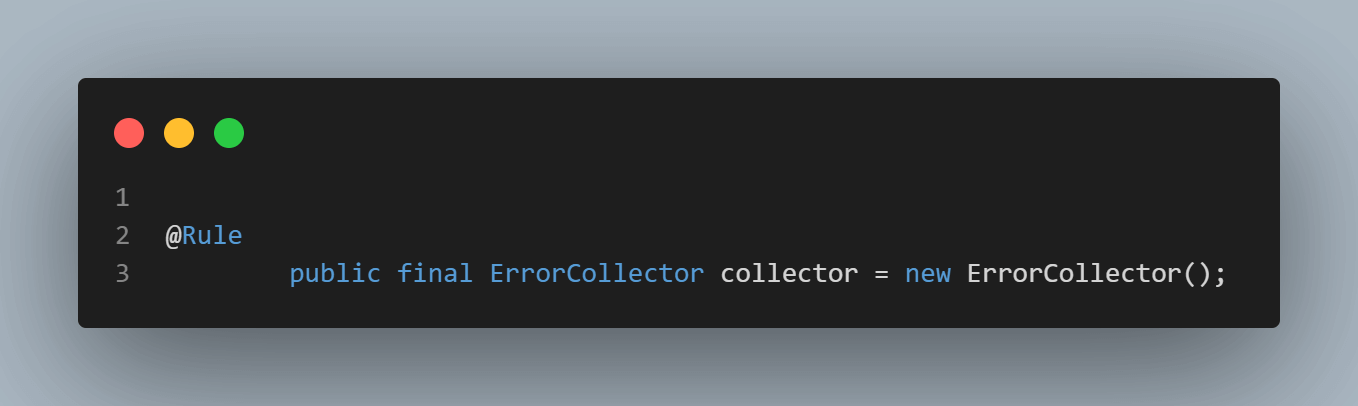
Step 8: To utilize JUnit rules, we apply the @Rule annotation to methods or fields. Keep in mind that the annotated methods must be public and non-static.
This concept involves rules or methods that provide outcomes. In this case, we’re implementing the @Rule annotation, which gathers and reports all errors together in one go.
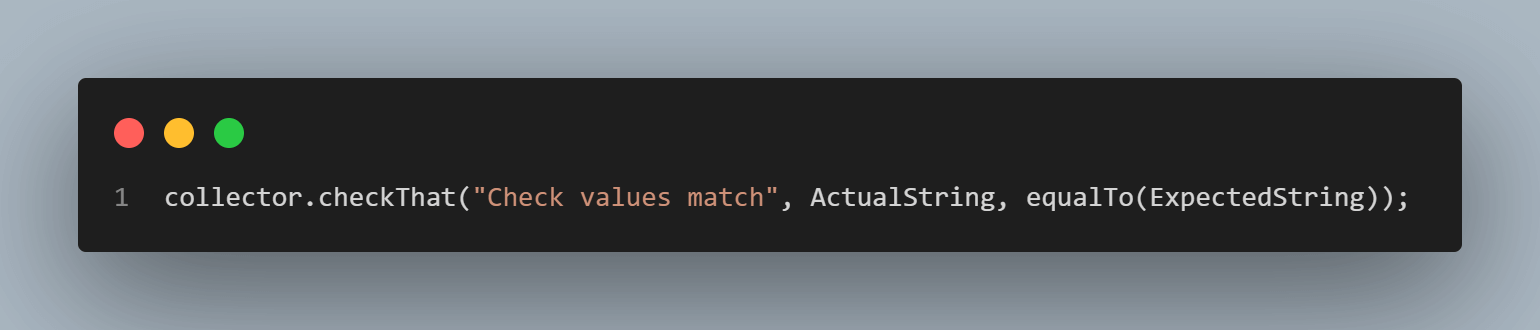
Step 9: Collecting all the errors and asserting.

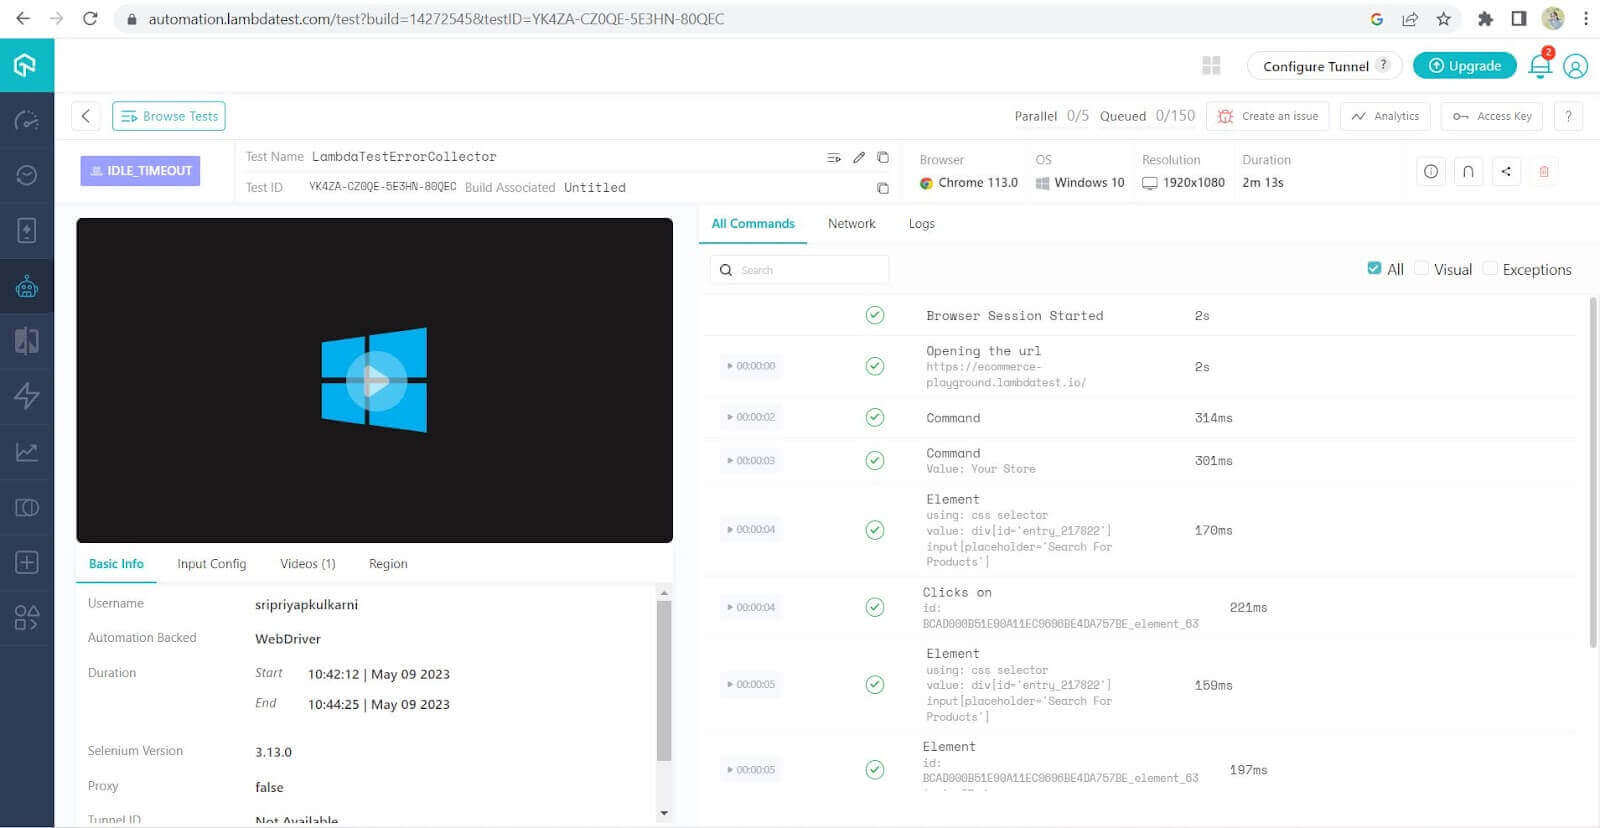
LambdaTest Dashboard
The tests were successfully executed on LambdaTest’s Selenium Grid, and the LambdaTest Web Automation Dashboard indicates the status of the test execution.
Conclusion
In summary, by using the JUnit ErrorCollector defined under the @Rule annotation, we can handle test failures in our test script without prematurely stopping the tests during execution. The JUnit ErrorCollector allows us to proceed with the test execution even when errors occur.
The ErrorCollector gathers error objects as they occur, accumulates them, and reports them once the test run finishes. The benefit of utilizing the JUnit ErrorCollector is that it enables us to review and verify all the collected errors after the test execution.
Frequently Asked Questions (FAQs)
What is the use of @RunWith annotation?
The @RunWith annotation in JUnit specifies the test runner class used to execute your tests. It allows you to customize how JUnit runs your tests.
How do you handle multiple exceptions in JUnit?
To handle multiple exceptions in JUnit, you can use the @Test annotation’s expected parameter to specify the exception your test method will throw. Alternatively, you can use a try-catch block within your test method to handle multiple exceptions.
What is the difference between @rule and @ClassRule?
The @Rule annotation is used to apply a rule to individual test methods, while the @ClassRule annotation is used to apply a rule to all test methods within a test class. @Rule operates at the method level, while @ClassRule operates at the class level.


Author’s Profile
Sri Priya
An ISTQB certified tester with primary focus on Software Quality and making sure that Software is Bug free. She has a strong background in Testing Tools, API testing , Linux OS , UI and Backend Automation testing. I will enjoy to work in team and learning from others, across all areas of business and technologies. I love to share my knowledge and write about latest technology stacks.
Blogs: 2
Got Questions? Drop them on LambdaTest Community. Visit now