GenRocket Integrates With LambdaTest
With LambdaTest's and GenRocket's integration, users utilizing LambdaTest HyperExecute will gain effortless access to GenRocket's capabilities for generating the required synthetic test data in both quantity and diversity. This integration empowers users to define authentic test data using GenRocket and then seamlessly automate the testing process with the aid of HyperExecute.
This collaboration delivers substantial advantages to customers using both platforms, resulting in quicker and more comprehensive testing procedures. As a direct consequence, testing cycles will be notably shortened, contributing to an expedited pace of software delivery.
Prerequisites
Ensure you have a LambdaTest account. If you do not have an account, register for free.
Ensure you have a GenRocket account.
Creating User In GenRocket
GenRocket is sold to enterprise (of all sizes) customers. It is not available to “unaffiliated” individuals and/or general public. Access to GenRocket is provided during a qualified Proof of Concept (POC) phase.
Setting Up A Project for Data Generation
As described above, users need to setup the test data project (“Model” and “Design”) for the test data needed.
For the purpose of this integration, we have used a sample project with Java + TestNG. In the sample project test case we are opening the browser and calling the GenRocket API to get the username and web application URL (the generated data) and opening those URLs in the browser as a sample test case.
In order to generate data using GenRocket, you can follow the steps given below:
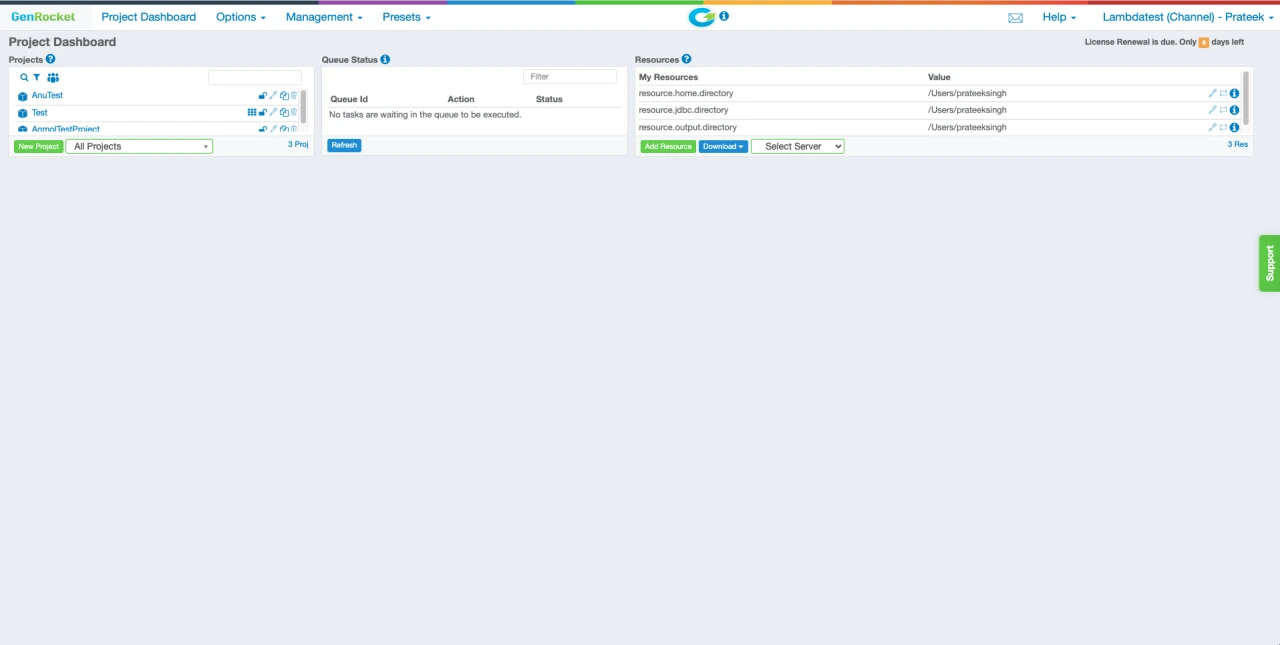
Step 1: Users need to create the HyperExecute Machine path profile in the Genrocket Dashboard.

Note: Users can Generate a Scenario through GenRocket Dashboard by following this documentation.
Step 2: Although “Scenarios” can be used to design the volume and variety of data, in practice, most customers who deal with complex data use G-Cases. Learn about G-Cases here.
Step 3: Genrocket User profile and scenario file should be downloaded and placed in the project.
Step 4: All the GenRocket dependency jars are added in the pom.xml of the project and they get automatically downloaded when the project is run. Follow the steps in the link to add the dependency.
Step 5: Users can call GenRocket methods to access the Genrocket API to generate data while running test suite in Hyper Execute
The following code snippet shows how to use the GenRocket API to generate the data:

Setup On HyperExecute
Till now you have learnt how to set up your generators on GenRocket. Now, in order to run those tests on Hyperexecute, please follow the steps given below:
Step 1: You can login or create your free LambdaTest account here.
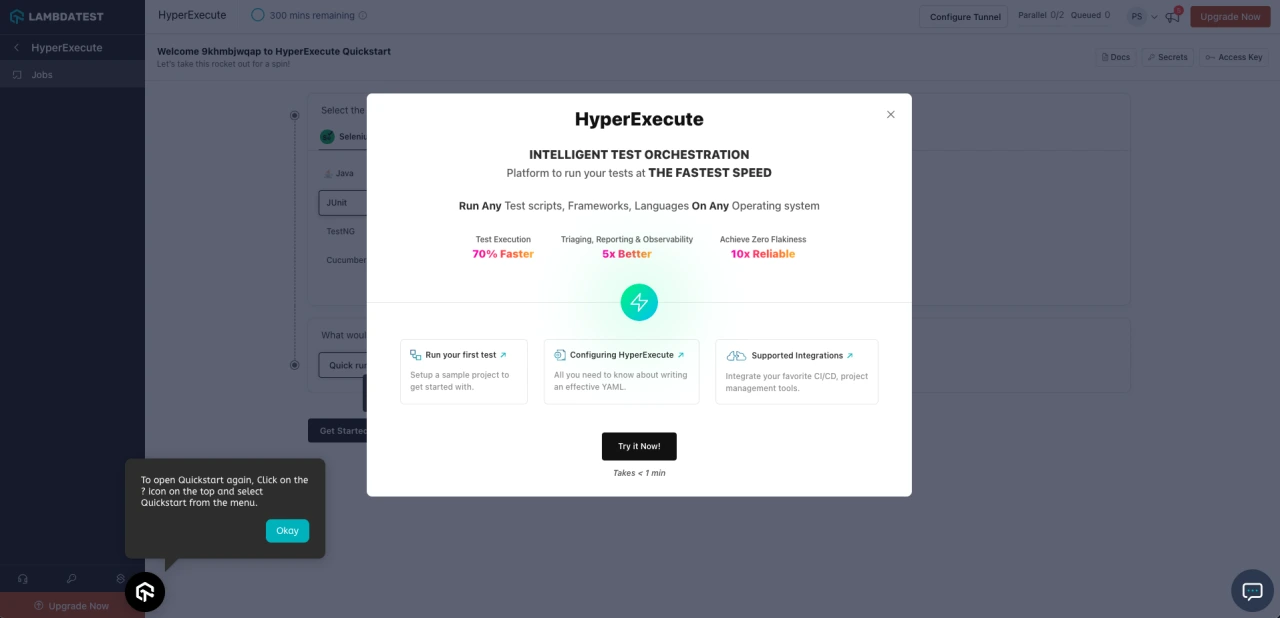
Step 2: Once logged in, click on HyperExecute on the Left Menu Bar.

Step 3: New users can avail a free trial of HyperExecute on this page by clicking Try Now.

Step 4: Once done, you are all set to run your sample project on HyperExecute.
Setting Up A Sample Project
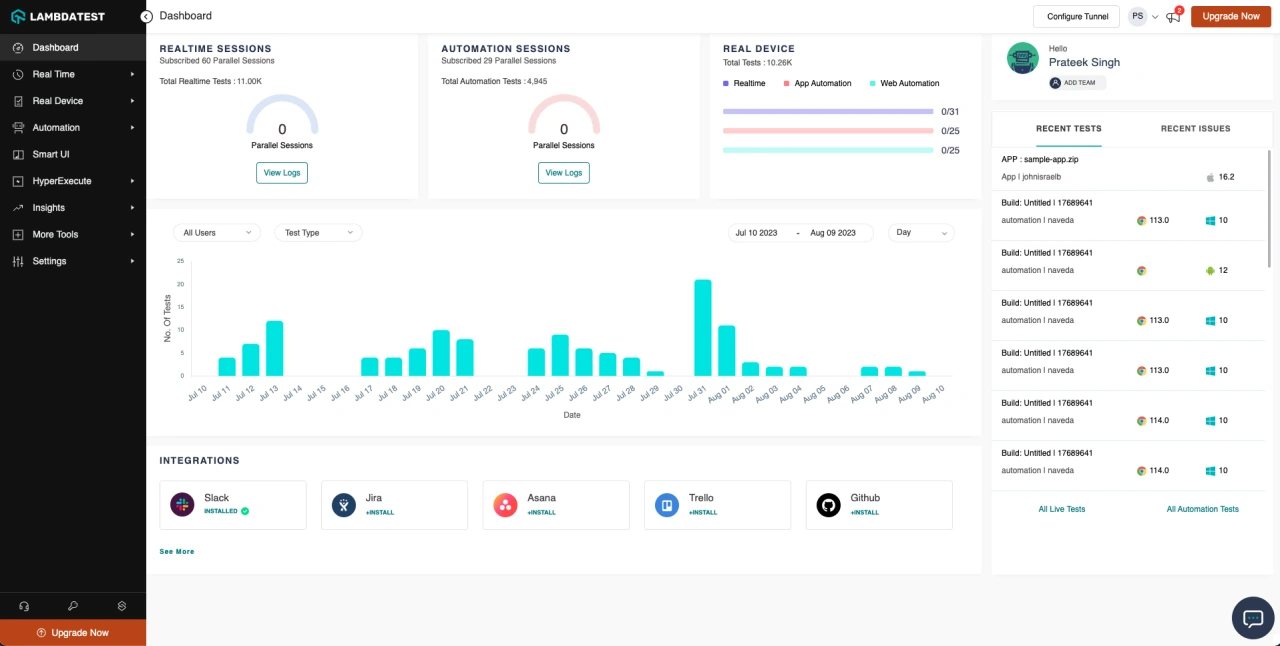
Step 1: Before proceeding further you need to access your LambdaTest Username and Access Key, which you can find in the Profile section. Profile section can be accessed from the top right side of the page as shown below:


Step 2: For the purpose of this integration, we have used the same sample project which you would have downloaded already as part of GenRocket Setup.
Step 3: Next, you need to download the HyperExecute CLI binary based on your OS:
For Windows: Download for Windows here.
For Linux: Download for Linux here.
For Darwin: Download for Darwin here.
Step 4: Once downloaded, make sure the Hyperexecute binary is at the root directory of your project.
Running Your First Test With Data From GenRocket on HyperExecute
Step 1: In order to run your tests in HyperExecute, you need a basic settings file, known as HyperExecute YAML configuration file. This file contains a list of settings and commands that one can execute on HyperExecute. Learn more.
Note: The HyperExecute YAML configuration file is already present in the sample project that you have downloaded.
Following two commands have been already added in the “pre” section of this HyperExecute Yaml.
In Hyperexecute, every time the tests are run, a new environment is created, and gets destroyed as soon as the tests are completed.
To configure Genrocket on HyperExecute we need to create a directory in the HyperExecute Machine with the name .genrocket which is done by the following command.
mkdir /home/ltuser/.genrocket
- After creating the directory, we also need to copy the Genrocket profile .grp file to the .genrocket folder which is done by the following command.
cp ******Profile.grp /home/ltuser/.genrocket
- Once done, the pre section inside the HyperExecute YAML will look like as shown below (already present inside the sample project).
Note: You will need to create a HyperExecute YAML configuration file specific to your project if you are not using the given sample project. In that case, the pre-section would remain the same however, other commands will need relevant changes. Learn More.
Step 2: Once you have the HyperExecute YAML ready, you just need to execute the HyperExecute CLI command. This command would trigger the CLI which will initiate a Job on HyperExecute Platform to run your test cases.
- Open the terminal and navigate to the project root directory.
- Run the following command with your LambdaTest Username and AccessKey. (as noted in step 4.1 above)
./hyperexecute --user USERNAME --key ACCESS_KEY --config hyperexecute.yaml
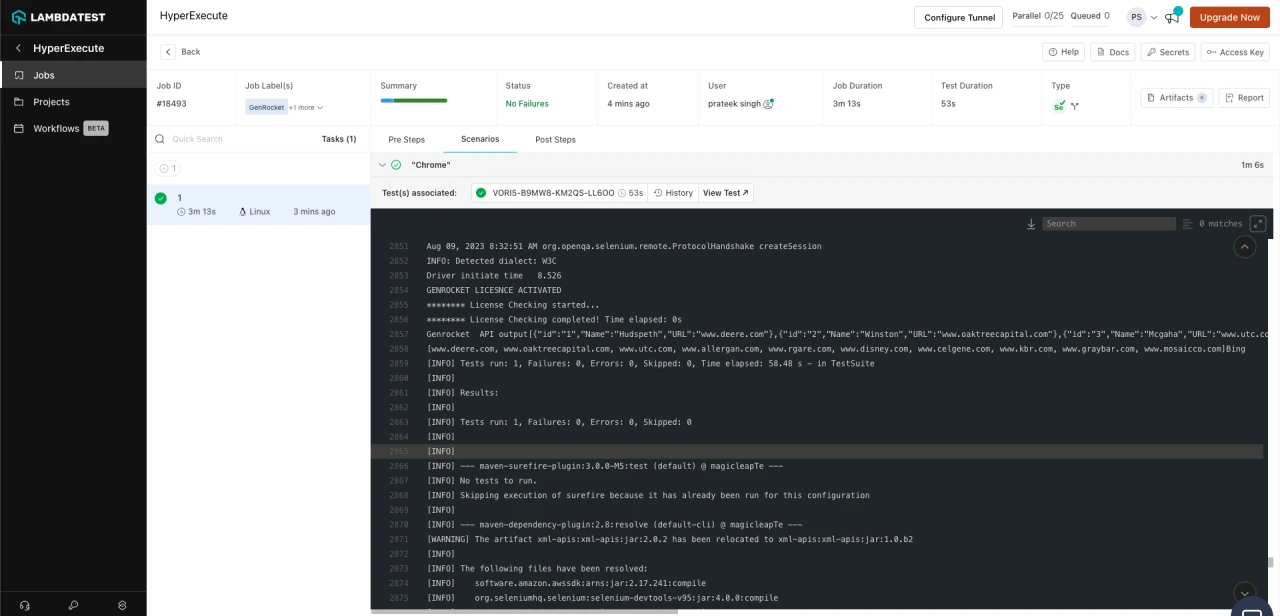
Step 3: You have successfully setup genrocket and executed your first job on HyperExecute. Once a Job is executed, you should be able to see the test results & logs on the HyperExecute Portal as shown below:

To learn more about HyperExecute visit our documentation or contact our support team from the in app support section.